Introduction
The MirageID Secure Browser has a built-in Whitelist filter so you can ensure that your Identities are only used for pre-approved websites. Whitelists are configured on a per-Identity basis, and each Identity can have its own Whitelist or none at all.
Enabling The Whitelist Filter
By default, Whitelist filtering is off, and any website can be visited using the Browser. To enable the Whitelist filter for an Identity, navigate to the Account Management Portal and log in.
Then choose the Identity for which you want to add a Whitelist filter, and click the Gear Icon in the top corner. Enable the “Allow only a specified list of websites” slider, and click “Save”.
Note that at this point there are no websites added to the Whitelist, and the Browser will block all sites.
Adding Websites to the Whitelist Filter
To add allowed websites to the Whitelist, add them to the “Allowed Websites” field on the Identity card in the Account Management Portal and click “Save”:
User Requested Websites
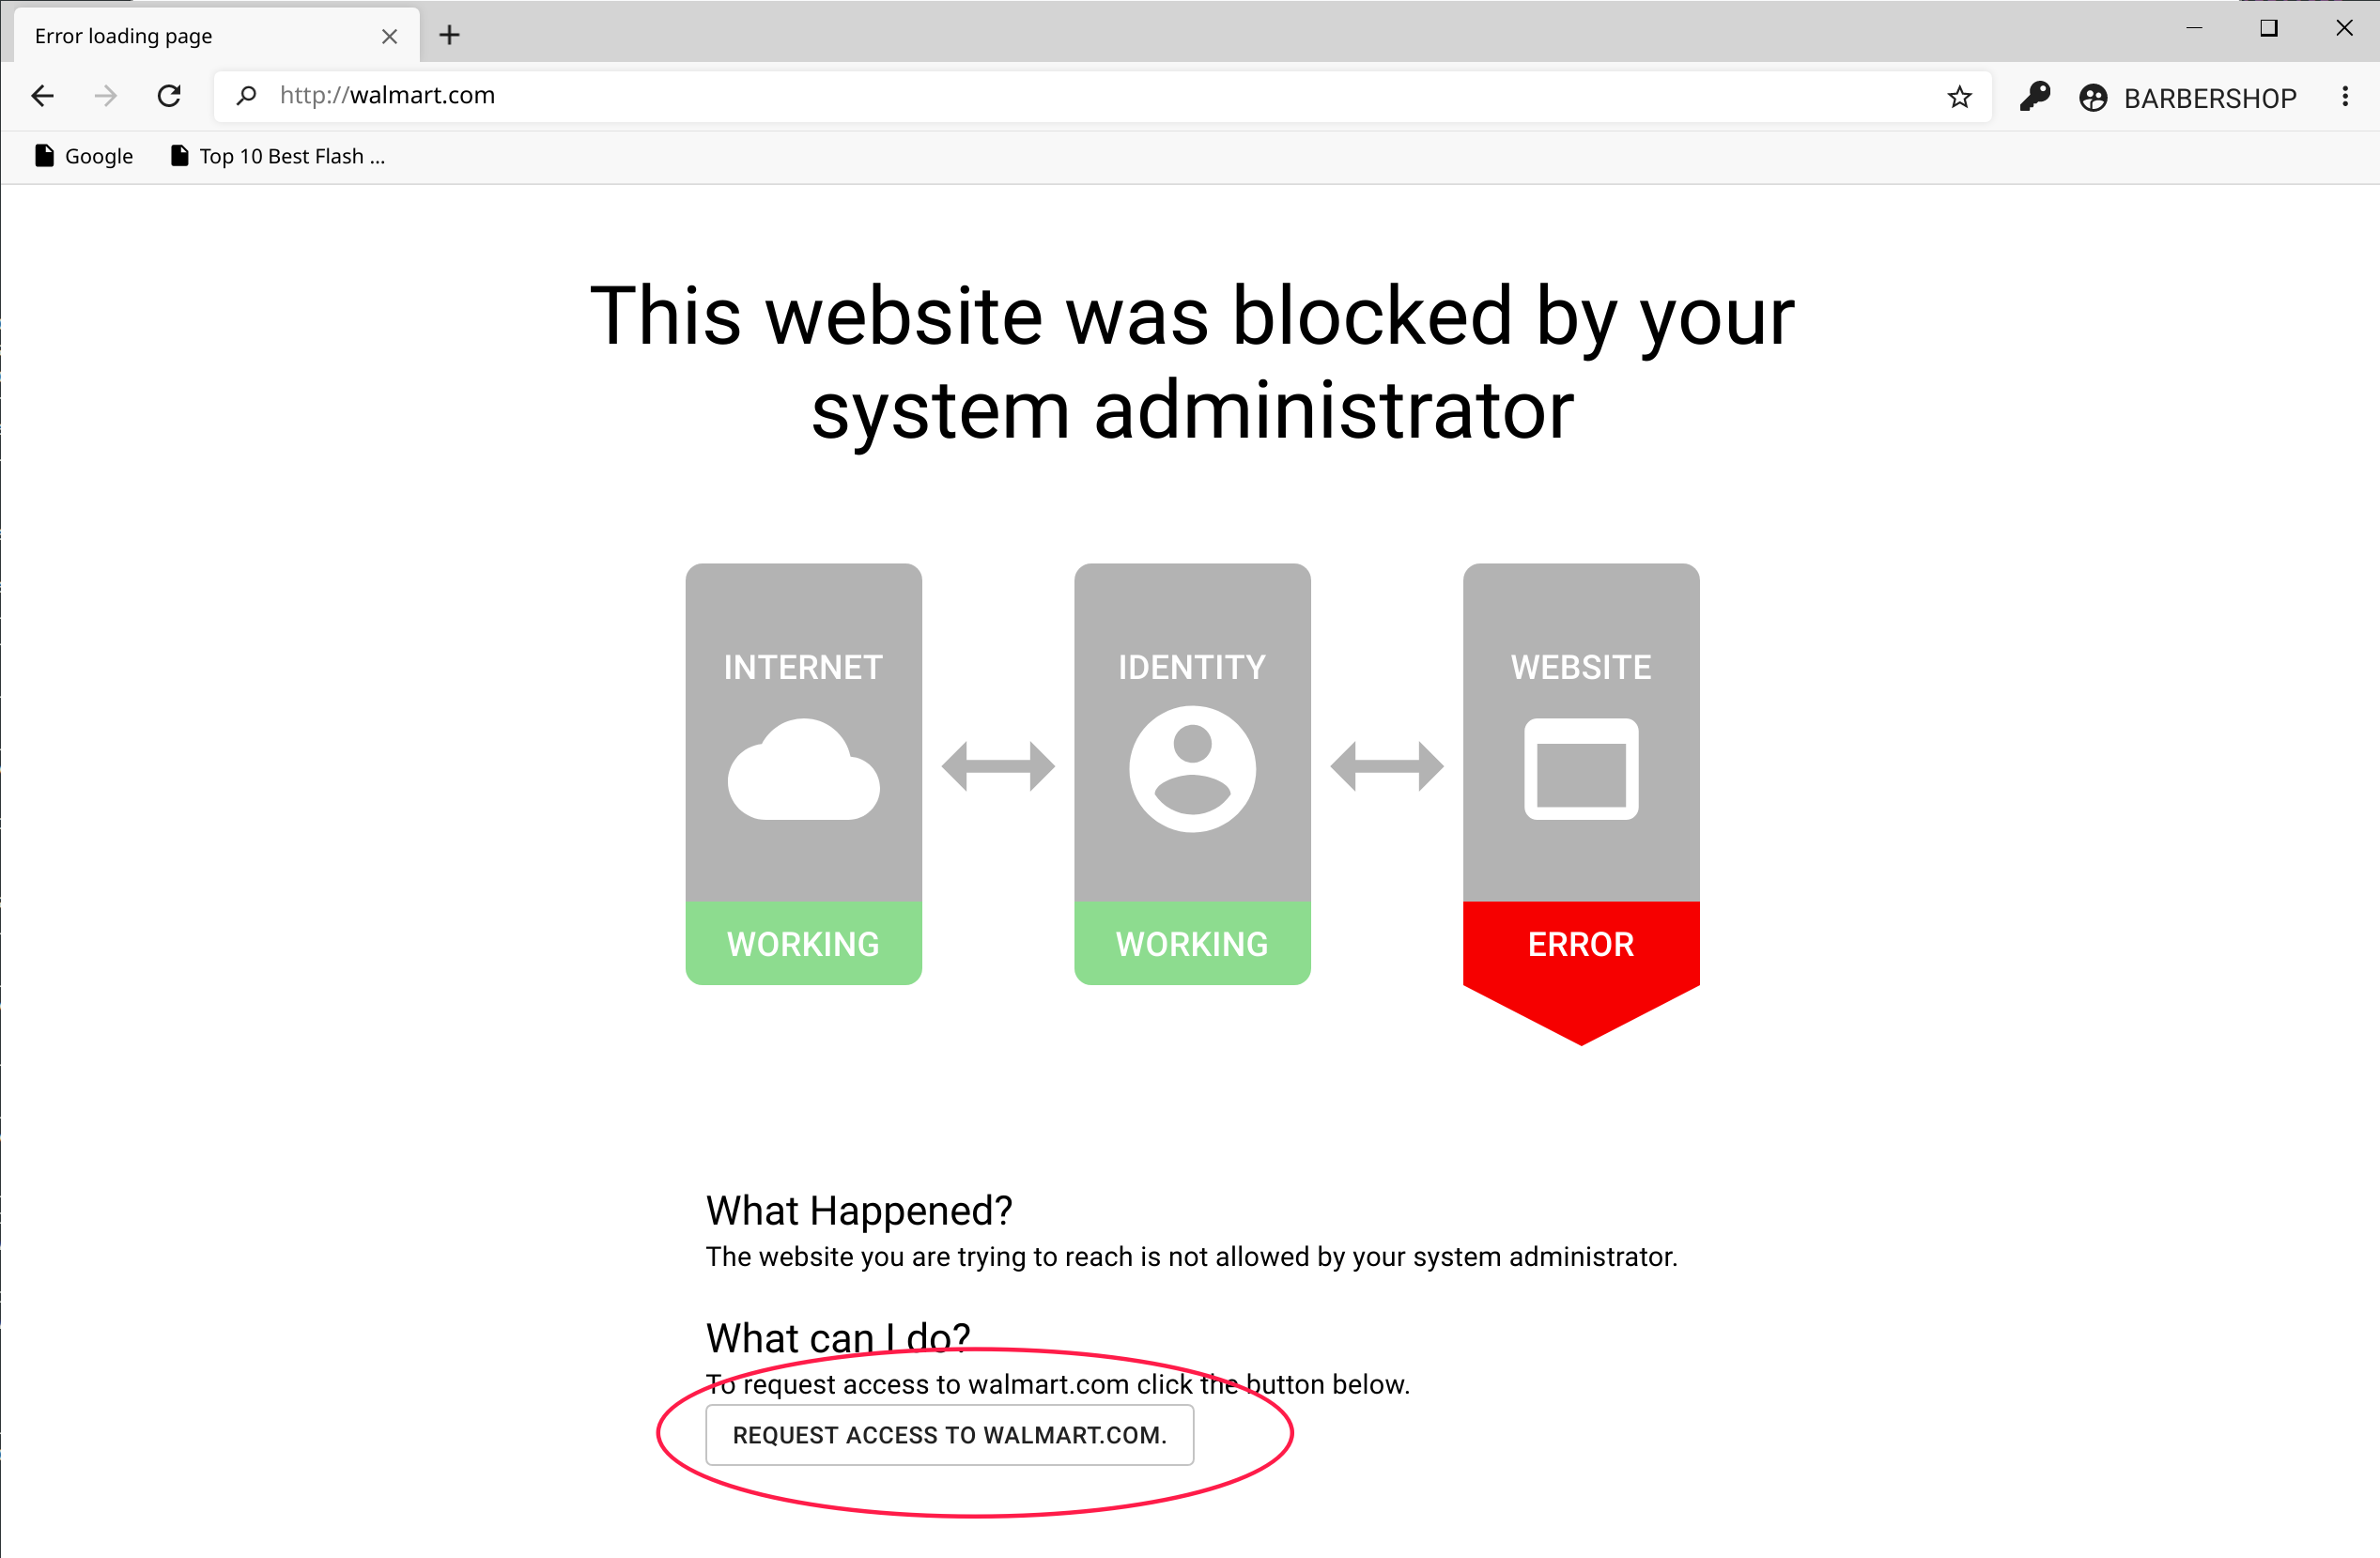
When one of your users attempts to access a website that is not on the Whitelist, they will see a page indicating that the site has been blocked. The user can request access directly from that page, and an administrative user on your account will receive an email with a link to add that site to the Whitelist for that Identity.